

1

2
How to :
Grout
Grout can come in both powder and in premixed form, and is available in a variety of different colours. It can make your tiles stand out with dramatic contrast, or can work as a subtle accent. When mixing grout it is important to remember to only mix up as much grout as you can use before it begins to set.
Step 1:
Application
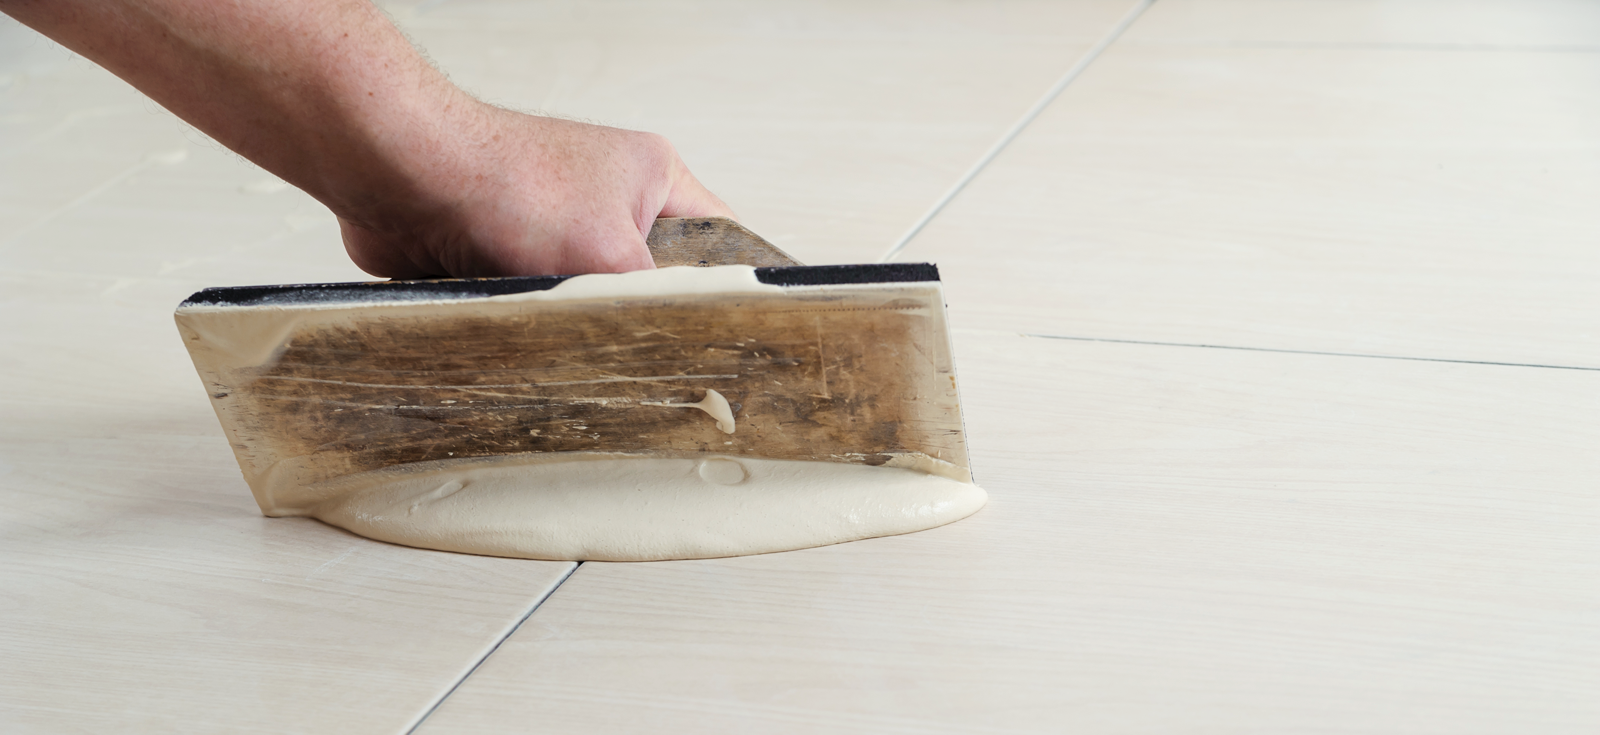
Once your tiles have set and the surface is dry, you may begin applying the grout. Mix the grout according to the instructions, or until it has reached a peanut butter-like consistency.
Apply the grout to the dry tile surface using the grout float in a cross sweeping pattern, held at a 45° angle. The grout should be pushed over the tile joints in 2-3 directions to ensure they are appropriately filled in.
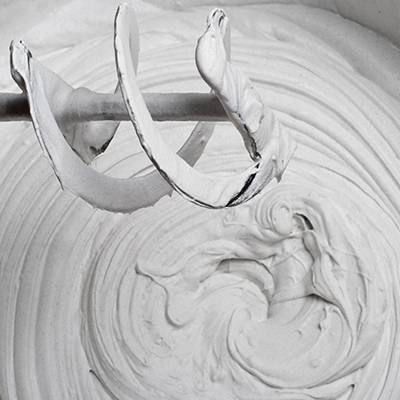
Mix your grout thoroughly to minimize colour variation
Step 2:
Clean-up
Begin removing the excess grout 5-10 minutes after application. You’ll be aware of the appropriate time because the grout will begin to show as a white haze on the tile. Fill a clean bucket with water and use your sponge to wash the excess grout from the surface of the tiles. Be sure not to use too much water or wash in a spiral motion as you may remove too much of the grout from in between the tiles. You may have to repeat the washing process once or twice with glossy or textured tiles before all the excess grout is removed. Use a clean, dry cloth to buff the entire surface clean of any dry particles.