

15

17

16

19

18
How to :
Floors
Sub-floor Types & Tiling a Floor
Subfloors:
Working with Backerboard
Measure your floor to determine the correct amount of product you will need and add 10% to your final calculations to account for waste.
Remove any existing floor material (i.e. tiles or laminate flooring) and clean the surface of dirt and debris.
Measure out and cut the backer boards to fit the size of the room making sure to off-set the joints with the existing ones in the sub-floor. Leave a 1/4” gap between the boards and the wall. Leave a 1/8” gap between each board as well.
Mix a bag of polymer modified grey mortar (Ultraflextm2) with water as directed by the manufacturer. Wear a dust mask, goggles and gloves for safety as mortar is caustic. Apply the mortar to the sub-floor with a 1/4” notched trowel. Apply only enough mortar to the sub-floor to bond one board at a time.
Embed the backer boards in the mortar and secure them to the sub-floor by driving in backer board screws every 8”.
Fill and cover the backer board joints with the mortar using a margin trowel to smooth them out. Apply 2” fiberglass tape to the joint and scrape off any excess adhesive. This will provide a water resistant seam to help prevent mold.
Subfloors:
Mesh & Cement Over Plywood
Ensure floor is tightly screwed down and there is no movement in the floor prior to starting.
Use at least one layer of galvanized diamond mesh. The mesh should overlap no less than 1/2” at the seams and be fastened using 1” staples spaced out 5 7/8” on center.
Once the mesh is secured, mix cement (sandmix is recommended) and apply a 1/4” mortar bed using 1/4” wood or metal guide around the perimeter of the room. Pull the mortar with a straight edge along end of the guides keeping it as level as possible. Float the area using a cement float to smooth it out. Let it dry overnight and scrape down any high ridges in the morning.
Subfloors:
Concrete
Make sure all loose paint, grease, etc. is removed. High spots can be removed with a grinder or hammer and chisel. If the concrete floor is more than a 1/4” out of level in a large area, use a self-levelling underlayment to correct the floor. Clean the floor thoroughly making sure to remove all loose debris and dirt.
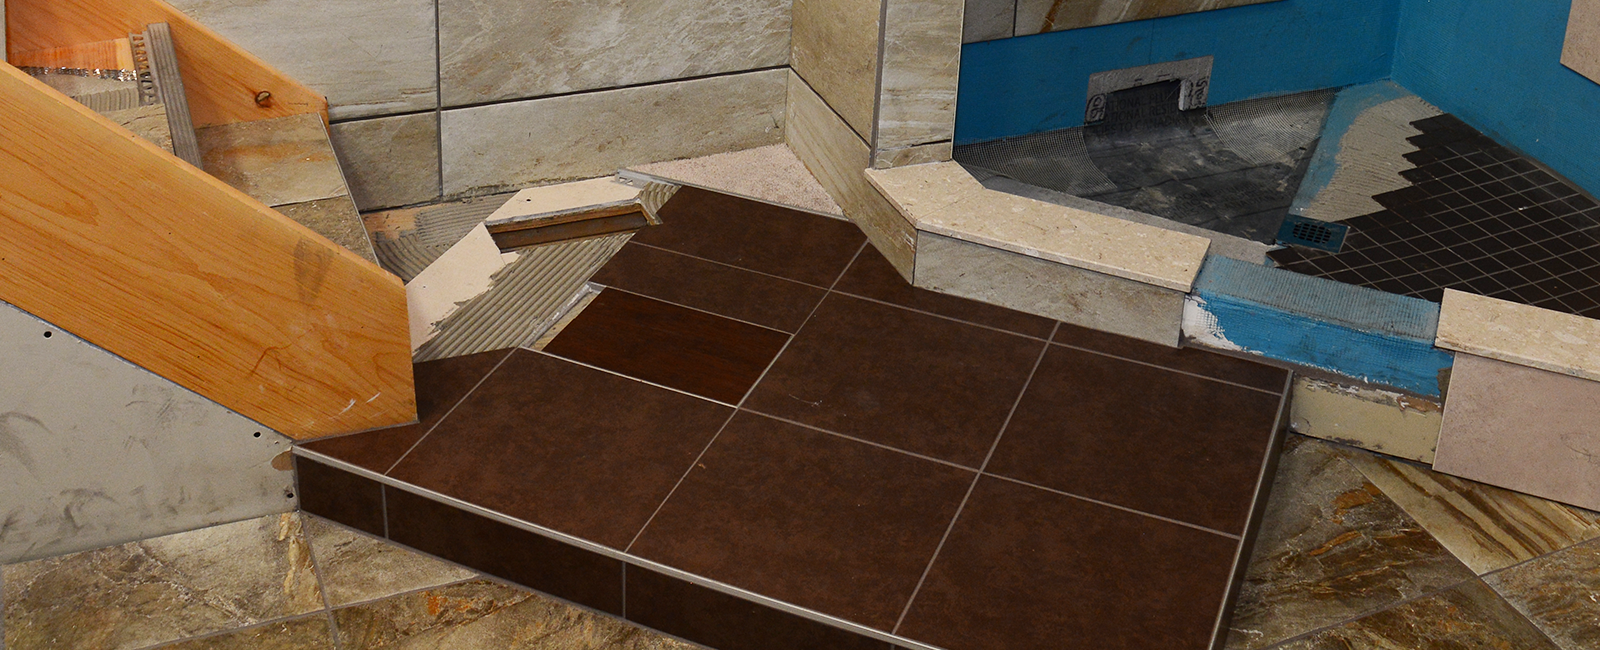
Tiling a Floor Step 1
Layout
Establish the layout trying to get as many full tiles visible as you can. There are many ways and methods of laying out the floor tile. Most of the problems associated with layout are due to the room being out of square. The following method is simple, easy to use and does not require a square room.
The first thing you will need to do is to snap two chalk lines. Snap one chalk line down the centre of the room and then snap the other centred perpendicularly to the first. You will have one line down the centre width of the room and one down the centre length.
Next, place a row of tiles down along both sides of the line. Make sure to leave room for spacing of the grout.
Once you have laid out the tile, check to make sure that the spacing is okay. You may need to move the tiles some so that you end up with as many full tiles as possible. This will avoid lots of cutting. If the room is small, you may want to place the tile so the cut tiles on either side are even, giving the floor an equal appearance. Let your eye be the judge.
Tiling a Floor Step 2
Applying the Adhesive
Mix the thin-set in a bucket by adding water and stirring to a thick pasty consistency, follow the product instructions and guide.
Once the thin-set is mixed, trowel it over the area where the tile will be set. Trowel only enough for an area that you can safely reach on your knees. Using a notched trowel, drag the thin-set so that the rows left in the thin set are in a straight line. DO NOT use a circular pattern.
Make sure to clean the sub-floor thoroughly to remove all loose debris and dirt before you start