

9

10

11

12

13

14
Waterproofing wet areas
Apply a first coat of HPG or Aqua Defense once the cement has cured by using a roller or sponge. Fiber mesh will need to be installed in all corners of the pan and at least 3’ off the ground. Once the fiber mesh is installed proceed to apply the second coat to all areas.
Allow the waterproofing to dry as per manufacturer’s instructions before tilling.
Shower Floor Step 1
Mortar bed installation
Mix water and sandmix in a pail using a hand drill/mixer (following the manufacturer’s instructions), until the required consistency is achieved.
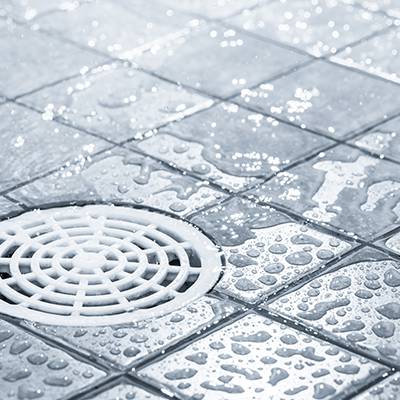
Plug the drain with a cloth until dry to prevent water draining from the concrete overnight. Ensure a vinyl pan or shower liner is present as required by local plumbing code.
Pour the concrete around the perimeter and spread it out with a trowel. The height of the concrete should gently slope from 2-1/2” around the outside of the form to 1-1/4” near the drain. Gently pack down with the flat side of the trowel to help bring the moisture to the surface and smooth out the concrete.
Allow the concrete to cure according to the manufacturer’s instructions before tiling.
Shower Floor Step 2
Setting the Tile
First lay out the entire floor including the cut tiles without using any mortar to test the fit and placement of the tiles. Once you’re satisfied with the fit, remove the tile and spread the mortar and install as per manufacturer’s instruction.
Allow to dry overnight then proceed to grout. It is advised that a waterproof membrane such as MAPEI Aqua Defense is applied on the concrete and curb before tile setting.
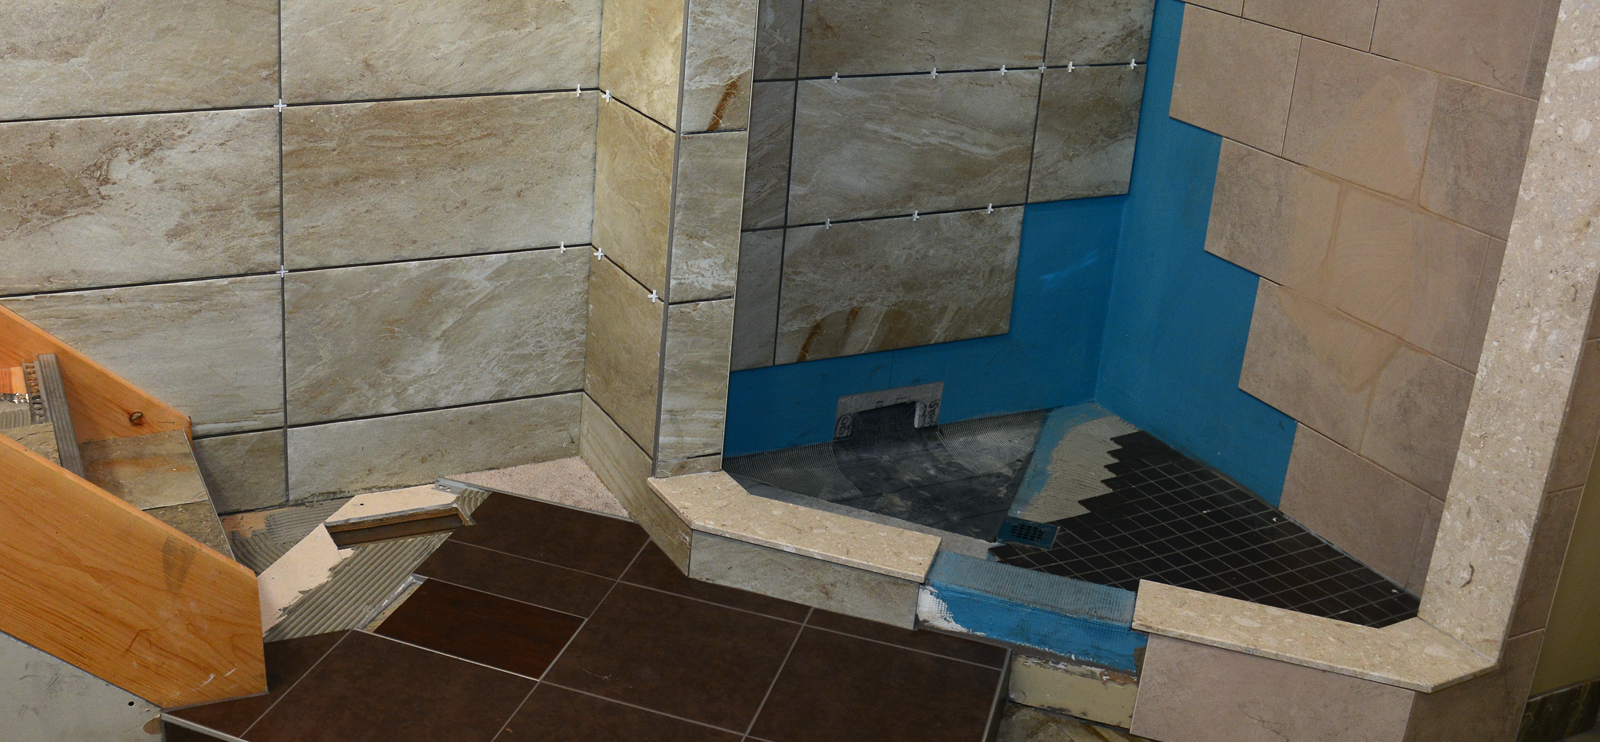
The shower floor should always be installed prior to any wall installation
Shower Walls Step 1
Surface Preparation
Begin by removing any existing tile and drywall by chipping out the grout with a chisel and hammer set. Then begin pulling off the tiles by forcing the teeth of the hammer behind the drywall and pulling the boards down. It is recommended that you have your water shut off to the shower and protect any fixed surfaces, such as the tub and existing floor tiles.
With any high moisture application, it’s in your best interest to replace the original drywall boards. In this case, use 1/2” concrete board or similar water resistant board with the appropriate screws. The screws should be placed every 8 inches into the studs.
Shower Walls Step 2
Layout
The next step is to do your layout for the tile. You probably won’t get an even number of full tiles. The best way to determine your borders is to measure the wall width. Find and mark your end-point. Take into account the width of your mortar joint. Be aware that this layout applies to vertical measurements only. For the bottom to top layout, use a full tile at the bottom and work up.
Now that your layout is made, use a chalk line or a level to mark your vertical lines.
Shower Walls Step 3
Setting the Tile
Start setting tile where your chalk lines intersect.
Be sure the adhesive is made for adhering tile to vertical surfaces. Wall tile adhesive has better grip for keeping tiles from sliding around once pressed into the adhesive. The adhesive should be spread onto the wall with the proper sized trowel. Tiles should be pressed firmly into the adhesive. To help adhere the tile into the adhesive, give the tiles a slight twist after pressing them into the adhesive. When all the tiles are in place on the wall, give them 24 hours to set before applying grout.
When laying out tiles, make sure to measure twice, and don’t forget to account for grout lines
Pro Tip
As you install the tiles you are bound to get some adhesive on the face of the tiles. Always have a clean bucket filled with lukewarm water and a sponge handy. Once you have completed installing a small section of tile, wring out the wet sponge and wipe the excess adhesive off of the tile. Be careful not to move the recently installed tile. Rinse the sponge out often and only use a damp sponge on the ceramic tile surface.